
LVL dead load and live load must stay separate in a beam’s load case. First, record the source, units and path of each load. Then check span, supported width, point-load position, supports and site use. For example, a roof truss reaction needs its own force and position. Use a product table only when the whole case fits its notes; otherwise, ask for a project design.
What LVL dead load and live load mean
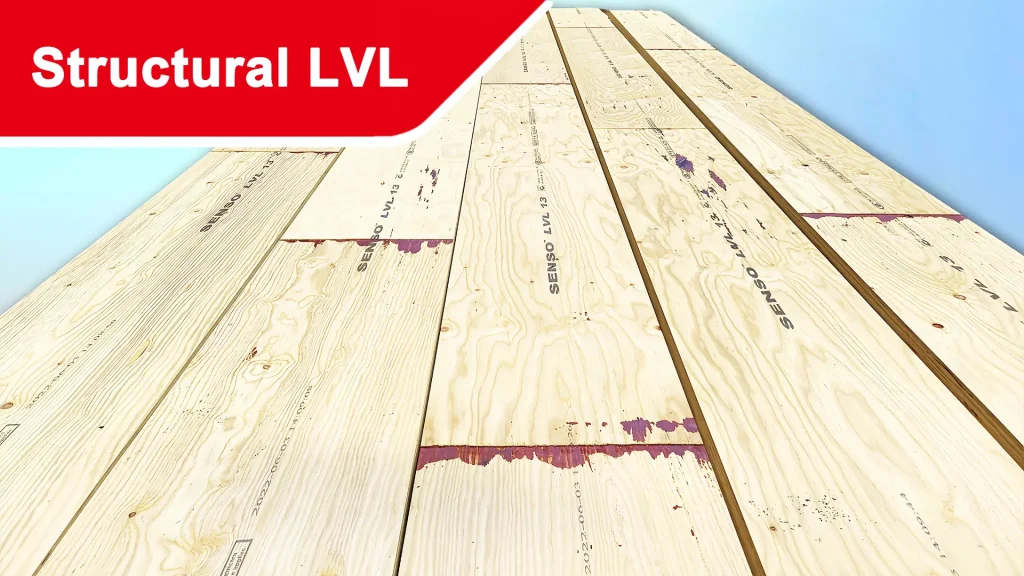
LVL is laminated veneer lumber: timber made from thin wood layers bonded with the grain mainly along the beam. It can form joists, bearers, lintels and roof beams. However, each load rating depends on the product, section and use.
To assess LVL dead load and live load, name the source first. Then state how it reaches the beam: at a point or spread along its length. A point load can be dead or live.
| Term | Meaning for an LVL beam | Example to record |
|---|---|---|
| Dead load / permanent action | Weight that stays with the structure | Beam, floor layers, ceiling, fixed services |
| Live load / imposed action | Load linked to how a space is used | People, movable furniture, storage use |
| Distributed load | Force spread over a stated beam length | Floor strip carried by regular joists |
| Point load | Force at a stated position | A truss, post or beam-end reaction |
A roof’s dead load can reach a beam at a point.
For Australian projects, AS/NZS 1170.1:2002 sets design actions for permanent, imposed and other loads. Also check the required edition, updates and use with the designer. For example, a home’s floor load may not suit a store.
Trace LVL dead load and live load to the beam
First, trace each load path on the plans. A joist carries a floor strip, whereas a bearer takes loads from joists. A lintel may carry roof, floor and wall loads. Therefore, room area alone cannot define the beam load.
Keep units clear: area load uses kN/m² or kPa, line load uses kN/m, and point forces and end support loads use kN. Kilograms are units of mass, so convert mass to force before beam checks.
For a uniform area load, line load = area load × tributary width. Use this rule only if the framing fits that model. Then list the dead and live parts on their own. Also include beam self-weight unless it is already in the load.
By contrast, keep each truss or post reaction’s force, direction and position. Do not spread it along the beam just to fit a table. Instead, check the scope on our LVL beam span tables page before choosing a row.
Compare point load and distributed load effects
For example, take a pin-and-roller static model with a 4 m analysis span between reaction points. Each case applies 8 kN downward. These are chosen example inputs, not code loads or SENSO ratings.
The model leaves out beam self-weight, other loads and load factors. It gives load effects only; it does not check beam size, bearing, fixings or deflection.
| Example load pattern | Applied load | Left / right reaction | Maximum bending moment |
|---|---|---|---|
| Uniform over the full 4 m | 2 kN/m × 4 m = 8 kN | 4 / 4 kN | 4 kN·m |
| Point at midspan | 8 kN at 2 m from the left | 4 / 4 kN | 8 kN·m |
| Point nearer the left support | 8 kN at 1 m from the left | 6 / 2 kN | 6 kN·m |
Data type: static load effects calculated from the stated inputs. No product test, load rating or allowable span is given.
Calculation basis: uniform-load moment = (2 kN/m × (4 m)²)/8. Central-point moment = (8 kN × 4 m)/4. Offset-point left reaction = (8 kN × 3 m)/4 m; moment = 6 kN × 1 m.
These values follow static equilibrium. For further context, MIT’s beam-loading demonstration shows how load size and position change shear and moment diagrams.
In this model, a central point load gives twice the peak moment of the uniform case for the same total force. Moving it toward the left cuts the peak moment but raises the left reaction. So check both the beam and its supports; total force alone cannot set the section.
Why sustained load changes deflection checks
Dead load acts for long periods. Also, some live load can remain in place, such as stored goods. Long-term movement also depends on moisture and the design method. Therefore, a short-term strength check cannot settle long-term sag.
Check strength and service limits on their own. Strength covers bending, shear and bearing. In addition, service checks cover deflection and, where needed, floor vibration. A beam can pass a strength check yet move too much for a brittle finish.
Next, the designer must choose code load cases, load-duration factors and service limits. AS 1720.1:2010 gives Australian timber design methods. A guessed safety margin cannot replace these checks.
Match LVL dead load and live load to product data
Once LVL dead load and live load are set, compare beam sizes and stated values. Use our LVL beam sizes comparison guide to sort options. Then check each against the design.
| Product data field | Unit or code | What the buyer should verify |
|---|---|---|
| Product and grade | Product code; declared grade | Exact match to the design data |
| Section and orientation | Width × depth in mm | Installed orientation and size tolerances |
| Bending, shear and bearing values | MPa | Property type, direction and current source |
| Elastic modulus (stiffness) | MPa or GPa | Mean or other stated basis; test direction |
| Density or mass per length | kg/m³ or kg/m | Moisture basis used for beam self-weight |
| Use conditions and treatment | Exposure class; treatment spec | Match use limits and design assumptions |
Requested product data, not SENSO ratings. Ask for the current sheet for the exact product in the quote.
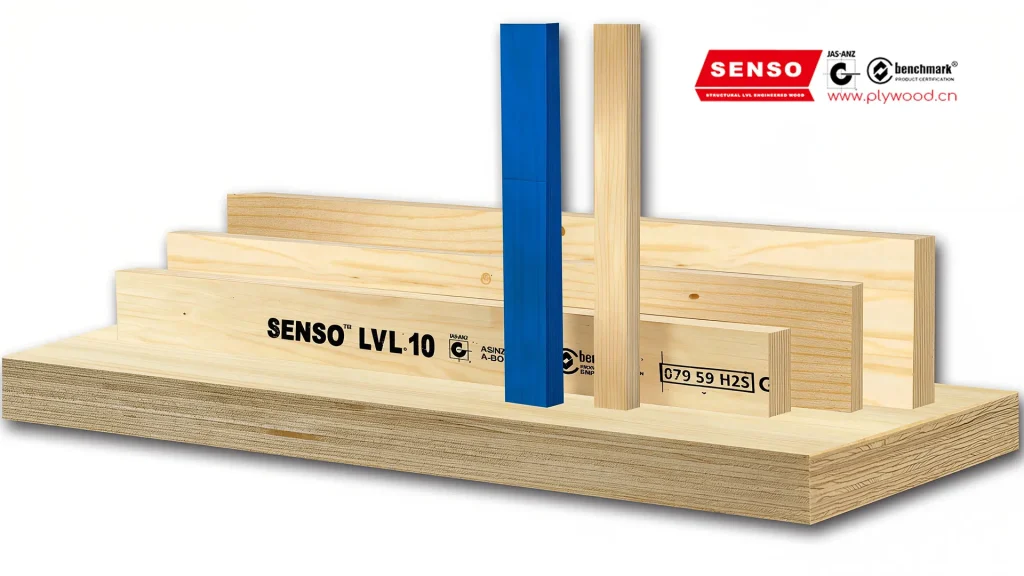
For example, a stiffness grade does not define every strength value. Also, a deeper beam may still need more bearing or a different hanger. Our structural LVL guide links product data to the buyer’s checks.
However, treatment alone does not allow long-term wet service. Check the product’s stated exposure limits. Also follow its rules for holes, notches and cuts.
Standards and supplier evidence to check
AS/NZS 4357.0:2022 sets rules for making structural LVL and checking its product data. However, a claim against that standard does not prove that a shipment meets it. Ask for records tied to the exact product and named production site.
First, check these records:
- Certificate or assessment: issuer, scope, named site, grade and expiry date.
- Product sheet: issue date, units, property basis and allowed uses.
- Test records: method, sample axis, moisture and other test conditions, and sample plan.
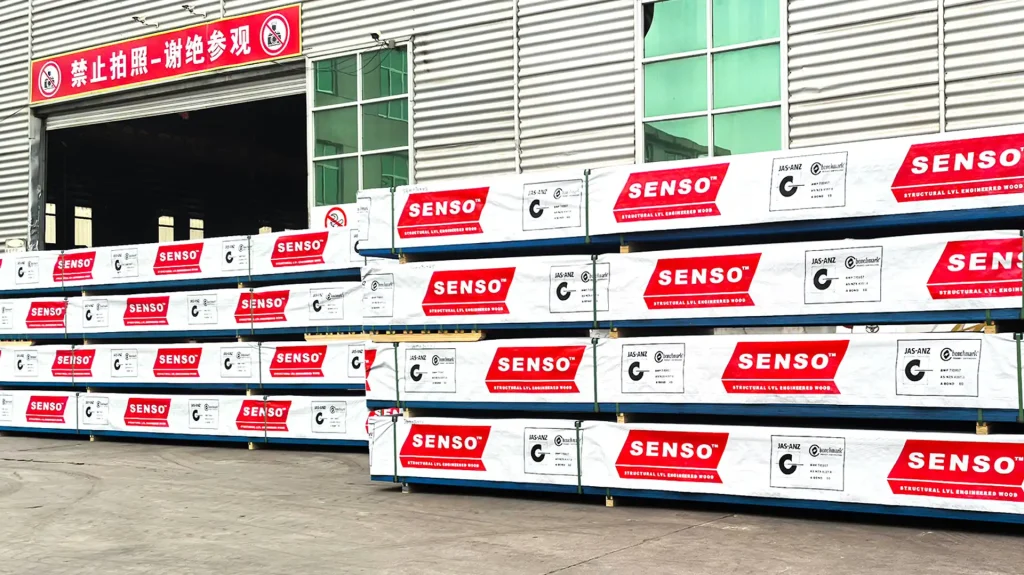
- Pack records: product marks and pack codes that match the supplied goods.
- Supply limits: treatment, storage, cuts and joint details.
Also keep the data types clear. Product specs describe the quoted beam. Characteristic values have a stated statistical basis. Standards set rules or methods. However, a single test covers only its samples and test conditions; it cannot prove the rating for a whole grade.
Send a load schedule with your LVL enquiry
To request a SENSO quote, send plans and a load schedule with separate columns for LVL dead load and live load. Also state whether the loads are basic or factored. Flag any inputs that need the designer’s check.
- Project location, building use, drawing issue and beam role.
- Span basis, support layout, tributary width or spacing.
- Dead and live loads, units, source and direction.
- Each point force, its position and the member that delivers it.
- Proposed product grade, width × depth, installed orientation and order lengths.
- Bearing, restraint, fixings, exposure and treatment.
- Quantity, delivery address, needed date and quote basis.
Finally, flag heavier finishes, storage use or added roof plant. Check the load path again before any product change. A larger beam cannot fill gaps in the load data.
LVL dead load and live load questions
Is a roof truss reaction dead load or live load?
It may include both, as well as wind or other loads. So ask for the dead, live and any wind parts in each design case.
Can I average a point load along the beam?
Only if the designer supports that model for every needed check. Yet equal total force can produce unequal bending and support loads.
Does a residential floor table cover storage loads?
Only if its stated use and loads match the job. For example, storage can change load size, duration and how it reaches the beam.
Must concentrated and area live loads always be added?
The code sets the load cases and combinations. Therefore, do not add them by default or assume that one always replaces the other.
Will a higher LVL grade fix a bearing problem?
Not always. Instead, check the stated bearing value, contact area, support material and connection. A grade label alone does not fix the detail.
Can this calculation choose my beam size?
No. It compares load effects only. Final sizing also needs product data, code load cases, service limits, restraint and support checks.
How do LVL dead load and live load affect a quote?
They define the load case behind the product you need. Next, confirm grade, size, treatment and source records. The designer must also accept any product change.
Send the span, load and support conditions for preliminary product guidance. Contact us about SENSO structural LVL with drawings and the project location. The project designer must approve the final beam and connection.
Post time: Oct-12-2026